NinjaTrader Chart Indicators: Add, Configure and Check
Add a NinjaTrader chart indicator, choose its input and calculation mode, check values in the Data Box, and remove or save the setup.
On this page
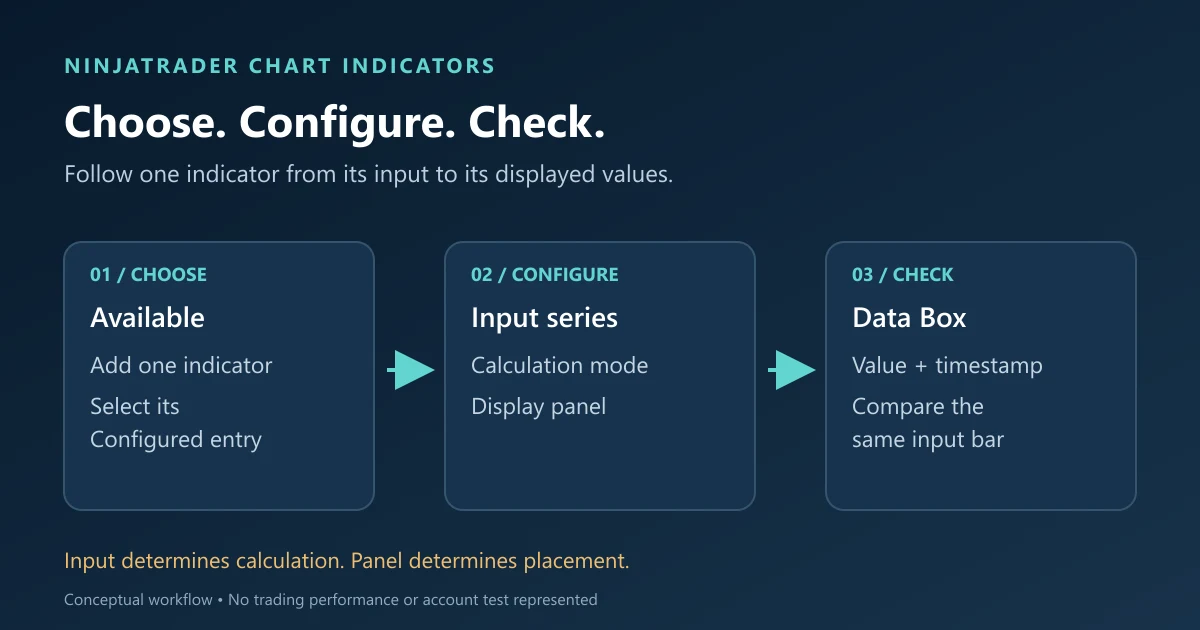
Configure one chart indicator at a time, then check the values it actually uses. A familiar-looking plot is not enough to confirm the input or update schedule.
Add an indicator and select its inputs
NinjaTrader’s indicator reference describes the controls:
- Focus the chart and press Ctrl+I, or right-click an empty part of its background and select Indicators.
- Select an indicator under Available, then choose add. Double-clicking it also adds it.
- Select that entry under Configured before editing its properties.
- Set Input series, Calculate and Panel deliberately.
Input series selects calculation data, including a series’ price field. Panel controls placement. They are separate choices. Custom indicators must implement NinjaScript’s selectable input to use that feature; check the script’s documentation.
Start with one built-in indicator on a separate chart for a manageable settings check. Write down the contract, interval, input price, indicator parameters and calculation mode. This becomes a reference you can compare with a second chart without relying on its appearance.
If several instruments or intervals share the window, use the multiple Data Series guide to establish the intended chart data first. This article starts once that data is in place.
Choose the calculation schedule
NinjaTrader’s Calculate reference distinguishes three update schedules:
| Mode | Calculation trigger |
|---|---|
| On bar close | The input bar finishes. |
| On each tick | Each incoming tick. |
| On price change | An intrabar price change or bar close; consecutive ticks at the same price do not each trigger an update. |
Do not choose On price change for a script that depends on every volume update. Same-price trades can add volume without triggering that mode. On each tick also demands more processing, so choose it for a documented calculation requirement.
Historical bars normally contain summarized open, high, low, close, volume and time information. Merely selecting On each tick does not reconstruct their intrabar events. For scripts that need those historical events, consult the Tick Replay guide and the indicator’s requirements.
Keep the update schedule fixed while comparing settings. Otherwise, a difference observed on the developing bar may reflect different recalculation times. Record whether you inspected a finished bar or the current bar so that another check uses the same condition.
Check values in the Data Box
Open Show Data Box from the chart context menu, or use the default Ctrl+D shortcut. Move the pointer over the bar you want to inspect. NinjaTrader’s Data Box documentation explains that it groups data and indicators by panel and follows the chart under the pointer.
An indicator’s timestamp identifies the bar time from its input series. This helps check a plot displayed beside bars from another interval. Indicators with Display in Data Box disabled are omitted.
For a useful comparison, keep the pointer on the same historical bar while noting the value, timestamp and settings. Change one property, apply it, and return to that bar. If the value differs, the record gives you a specific input to investigate. This exercise checks configuration; it does not evaluate whether an indicator produces a profitable trading signal.
Save the setup or remove the indicator
To remove an indicator, select its Configured entry, choose remove, then OK. Use Show Indicators on the chart context menu to hide or show the chart’s indicators without removing them.
You can save an individual indicator’s parameters as a template; the name Default makes them its future defaults. For a reusable whole-chart layout, follow the chart-template guide.
PropFirmConnector connects any Rithmic account to NinjaTrader 8. The connection directory helps with account setup; indicator configuration is a NinjaTrader task. PropFirmConnector supplies connections, and trade copying requires a separate copier.
Documentation reviewed November 17, 2026. The artwork is a workflow diagram, not a platform screenshot or an account-test result.
PropFirmConnector publishes this article and sells the Rithmic connection add-on described on this site.