NinjaTrader Chart Templates: Save, Load and Check Settings
Save and load NinjaTrader 8 chart templates, match the number of data series, and check Trading Hours and indicator inputs after applying a layout.
On this page
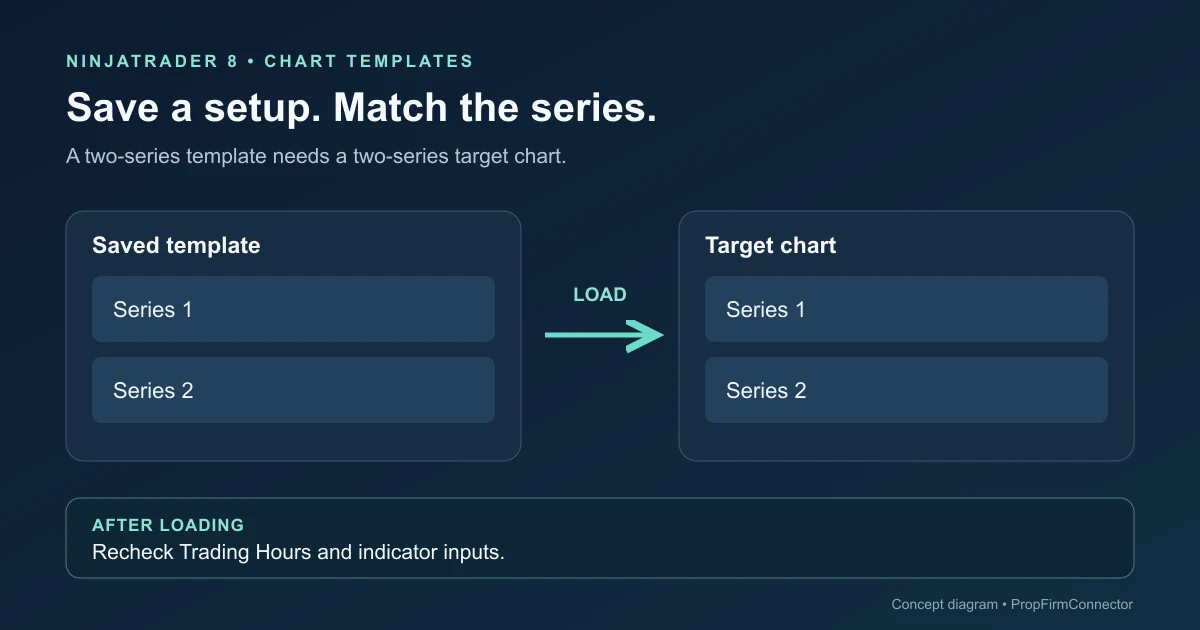
Save a named chart template to reuse a chart’s appearance and indicators. Match the target chart’s Data Series count, then inspect its settings after loading.
Save and load a named template
NinjaTrader’s chart-template reference describes the workflow:
- Configure your chart, then right-click its background and choose Templates > Save As.
- Name the template and save it. Use a descriptive name such as
two-series-review. - On an existing chart, use Templates > Load and select that name.
The source and target charts must contain the same number of Data Series. A template saved with two series needs a two-series target. Chart templates retain chart properties, panel properties and indicator settings; drawing objects are excluded. To reuse an existing price level on another interval, share the drawing across charts for that contract.
To use the setup for future charts, choose Templates > Save As Default. To rename or remove a saved template, open Templates > Manage and right-click its name.
Start a new chart with the intended series
For a new window, select New > Chart in the Control Center. NinjaTrader’s chart-creation guide places instrument selection and the optional chart template in the opening Data Series dialog.
Choose the futures contract and construct the series you need before selecting the saved template. If your intended setup uses two intervals of one contract, use the multiple Data Series walkthrough to build that target.
Give the first trial a separate chart window so you can compare it with the original. Keep the reference chart visible until the settings match your intention; a similar color scheme alone is a weak check.
Check settings after the template loads
Loading a template can override settings entered manually in Data Series, including Trading Hours. NinjaTrader documents this precedence in its price-data reference. Make the checks after loading, before saving another version.
| Check | Where to look |
|---|---|
| Instrument and interval | Open Data Series, select each Applied entry, then inspect the contract, Type and Value. |
| Session and historical range | Inspect each series’ Trading Hours and Load data based on settings. |
| Indicator calculation | Open Indicators, select each Configured entry and inspect Input series, Calculate and Panel. |
Trading Hours definitions contain market-session start and end times, as explained in the official overview. If a chart shows an unexpected session boundary, compare the chosen definition using the Trading Hours guide before assuming the connection lost data.
The indicator reference distinguishes the calculation input from its display panel. An indicator can appear beside one series while calculating from another. Check the input’s instrument, interval and price field rather than inferring them from placement. Calculate determines whether recalculation happens on bar close, each tick or price changes.
To add or remove an individual indicator and check its update schedule, follow the chart-indicator configuration guide.
For a repeatable comparison, write down the expected contract, interval, session and indicator inputs first. Compare one setting at a time. This makes an unwanted template change easier to identify without repeatedly rebuilding the whole chart.
Choose an indicator template or workspace when appropriate
If you only want to reuse one indicator’s parameters, the indicator documentation also describes individual templates. Naming an indicator template Default makes those parameters the defaults when that indicator is added again. This is useful when the rest of each chart should stay different.
For a set of windows you want to reopen together, use the Control Center’s Workspaces menu. Its save and save-as controls preserve the workspace or create a separately named copy. Use the workspace backup guide when moving the environment to another computer.
After arranging the charts, save the intended workspace as a separate finishing step. Keep template names specific enough to distinguish a one-series setup from a two-series setup.
PropFirmConnector connects any Rithmic account to NinjaTrader 8. Use the connection directory for account setup; chart configuration remains a NinjaTrader task. PropFirmConnector supplies connections, and trade copying requires a separate copier.
Documentation reviewed November 13, 2026. The artwork is a settings diagram, not a platform screenshot or evidence of an account test.
PropFirmConnector publishes this article and sells the Rithmic connection add-on described on this site.